


Preferences are required to be assigned to a space on-campus. Those who do not submit preferences will not be assigned a space until this step is completed.
Completing your Housing Contract
The following instructions provide a step-by-step guide to the housing process. All steps are shown to provide students with information that is necessary when completing their housing contracts. For each step you will log into the Housing Portal—you will need your NetID and password.
Contract Submission
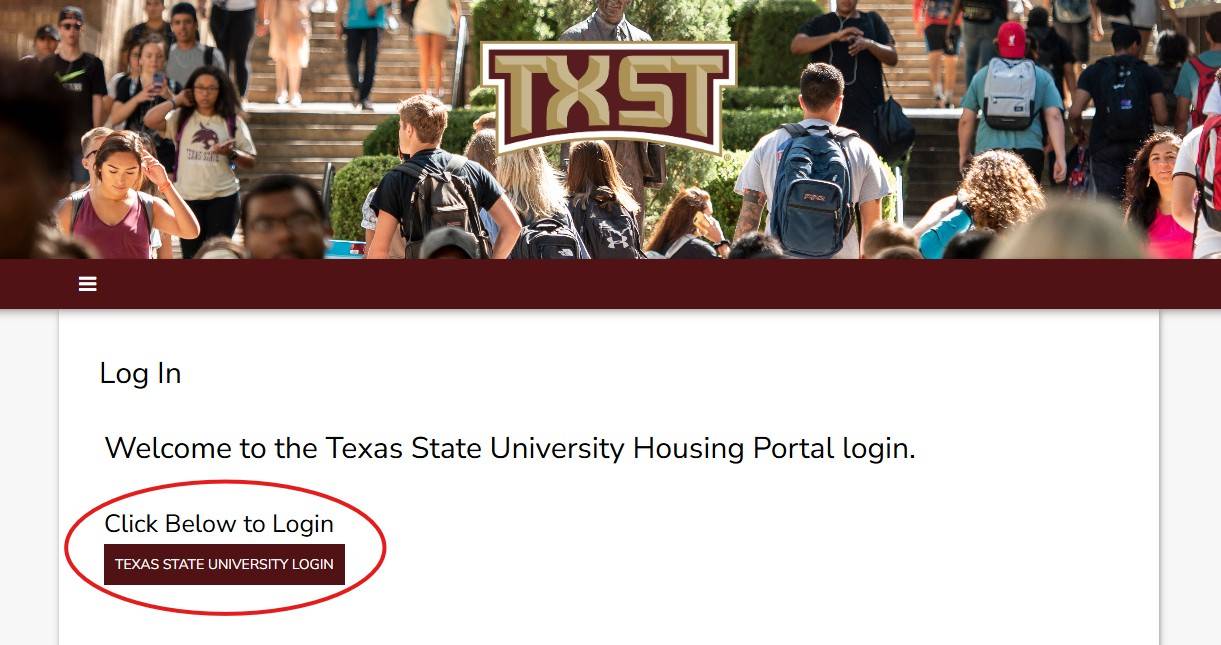
1. Log In
Log in to the Housing Portal by using the Texas State University Login button at the bottom of the page.
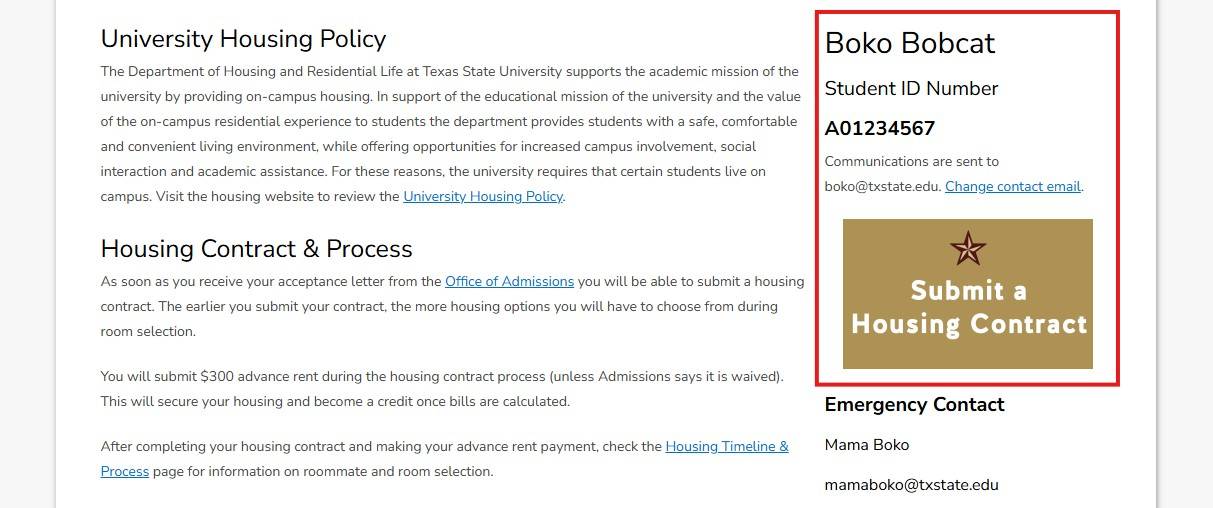
2. Welcome
You will be brought to the Welcome page each time you log into the Housing Portal. This page has important information about living on campus.
On the right side of the Welcome page, your Student ID Number is displayed along with some action buttons.
Please write down your Student ID Number (A0#) as you will need it later to submit your housing contract, then click the Submit Housing Contract button.
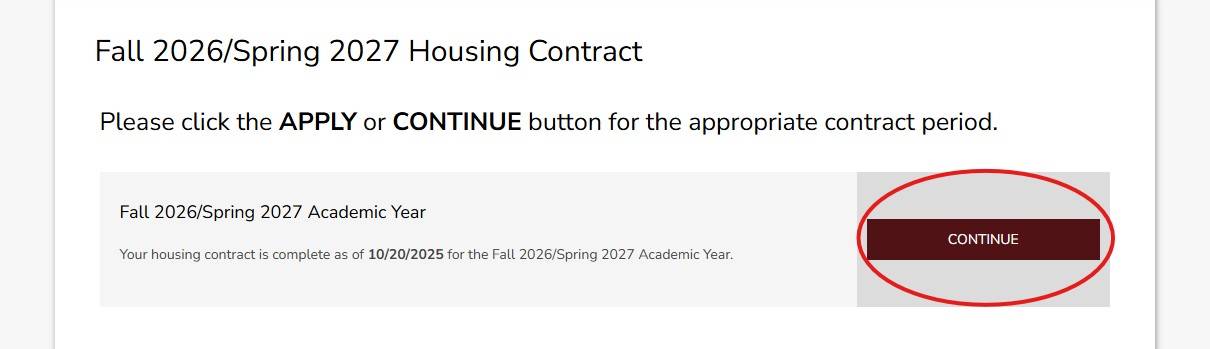
3. Housing Contract Selection
Here you will select which housing contract you will be filling out.
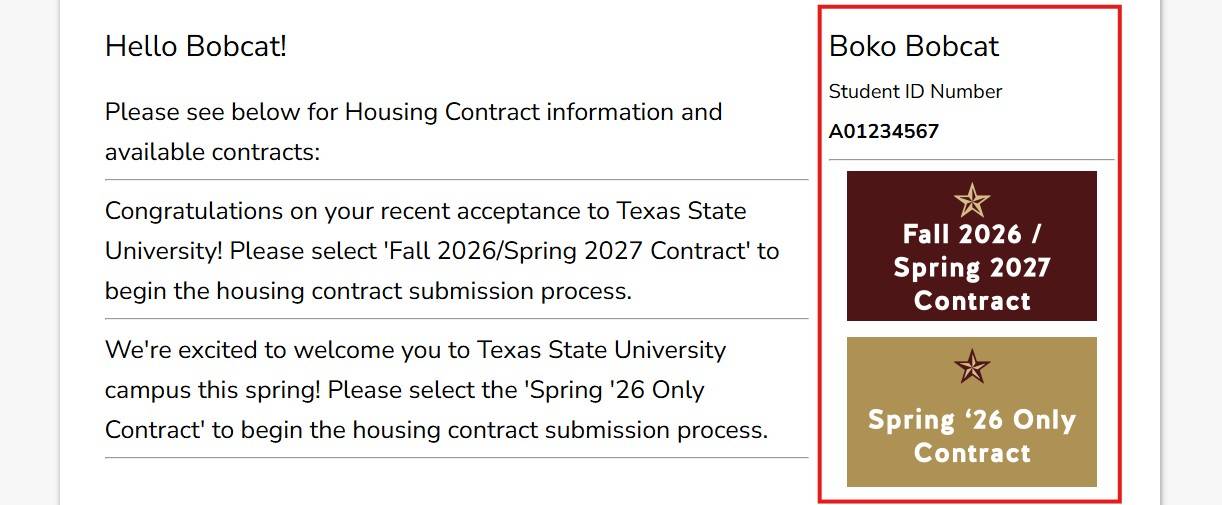
Then you will click the “APPLY” button to begin the Housing Contract.
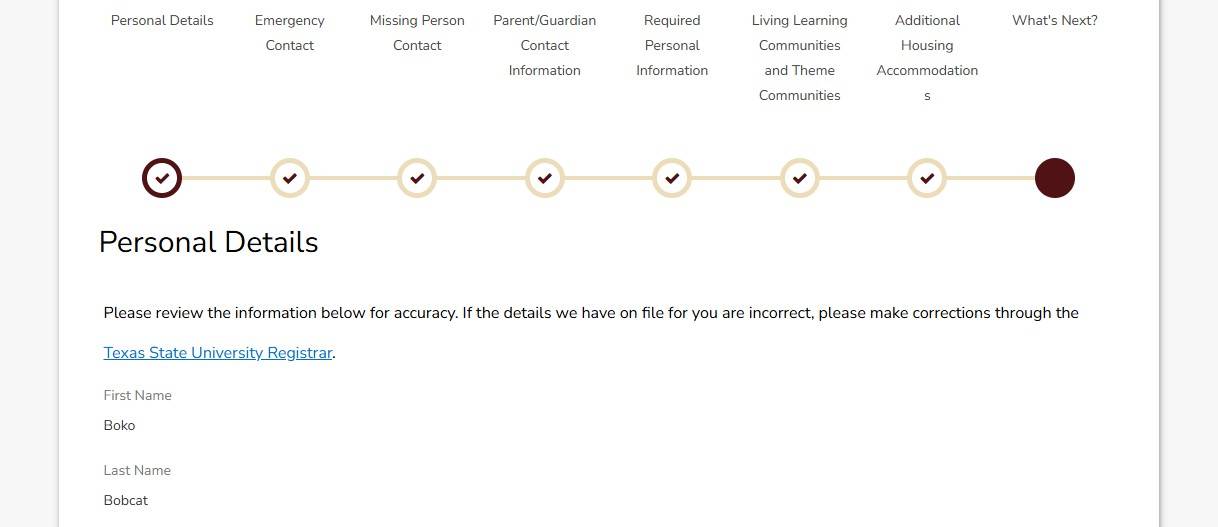
4. Personal Details
The first step once a housing contract has been started is the Personal Details page. Please review the information on this page for accuracy and contact the Registrar’s Office at 512.245.2367 if there are any errors. Incorrect information might affect housing status.
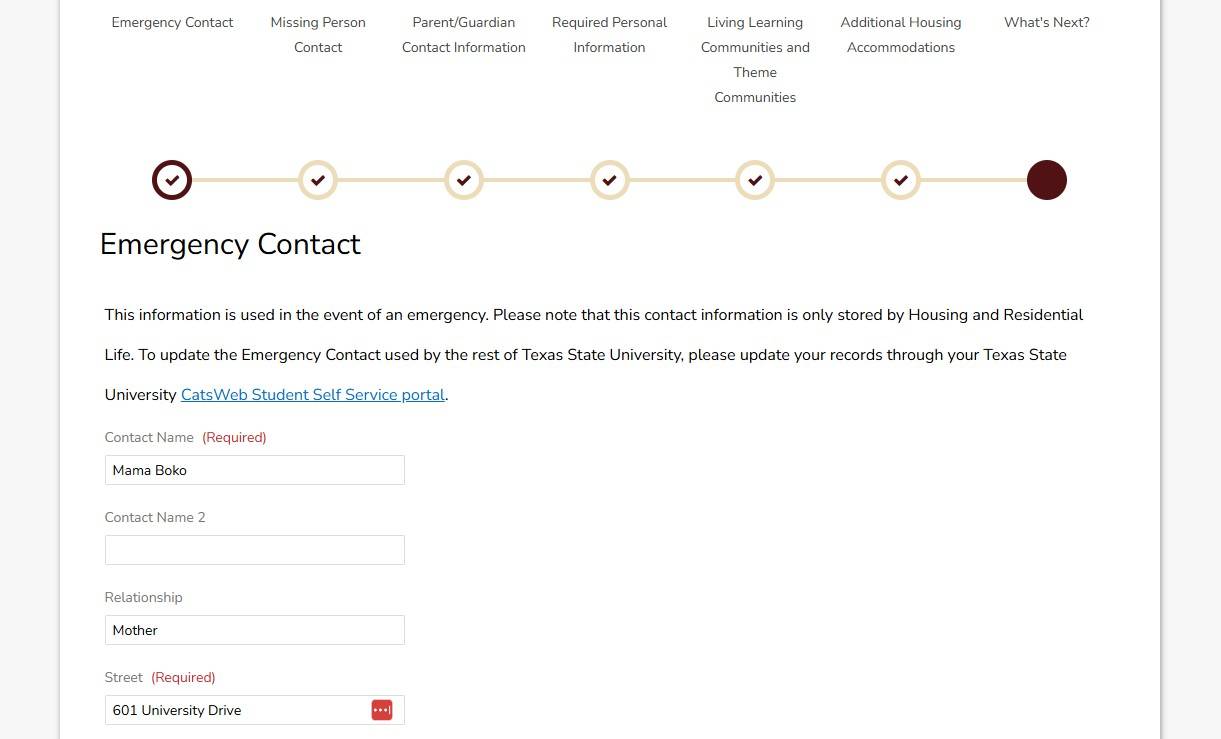
5. Emergency & Missing Person Contact Information
The next couple of pages will ask you to provide a contact person in case of an emergency or missing person situation.
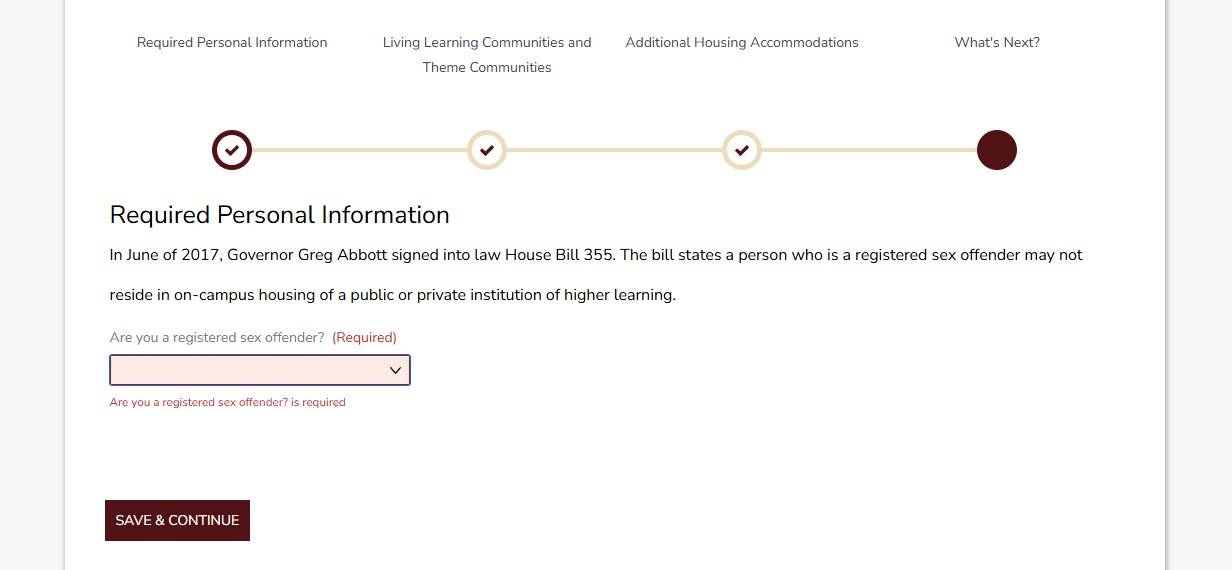
6. Required Information
The page asks for some required information.
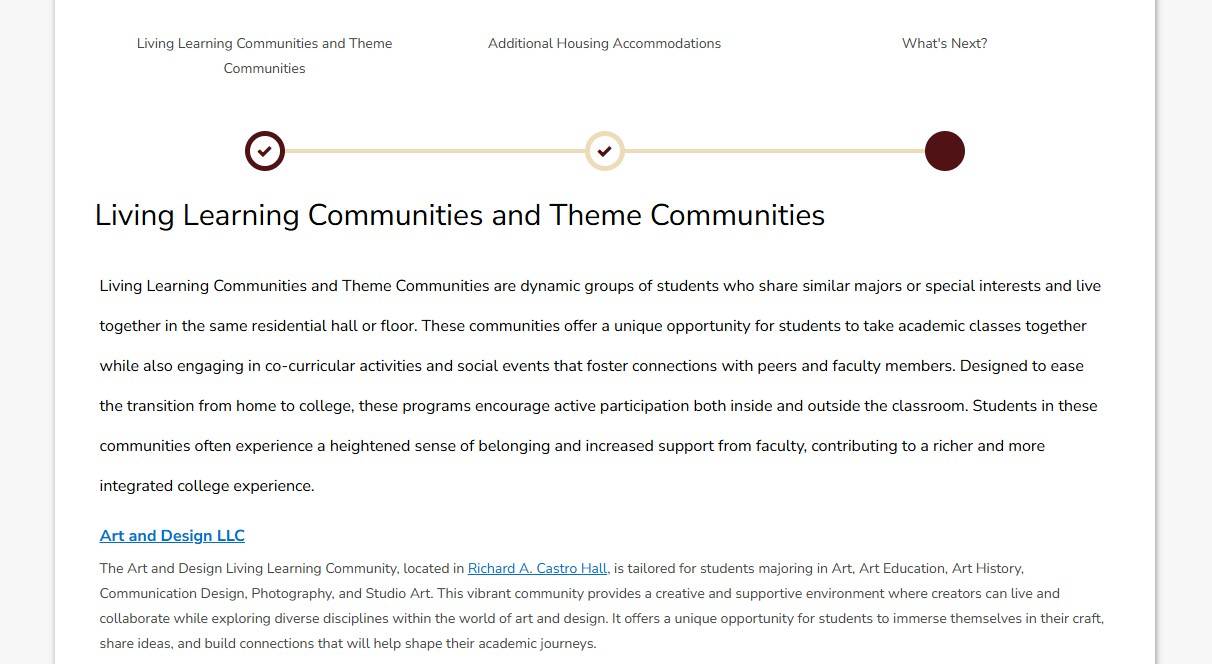
7. Housing Options
On the following pages, there will be information regarding Living Learning Communities and accommodations.
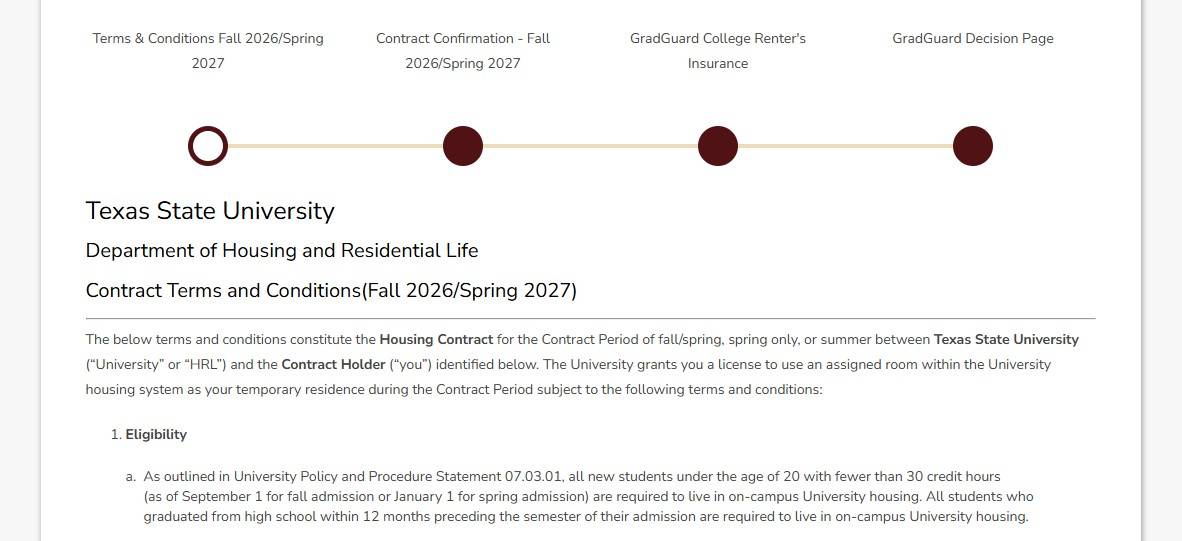
8. Terms & Conditions
The Terms & Conditions page must be signed in order to continue with the housing process. By entering your Student ID Number (A0#), you have signed and agreed to the Terms & Conditions of your housing contract. This is a legally binding contract. You have 3 business days to cancel without penalty; the request to cancel must be submitted online.
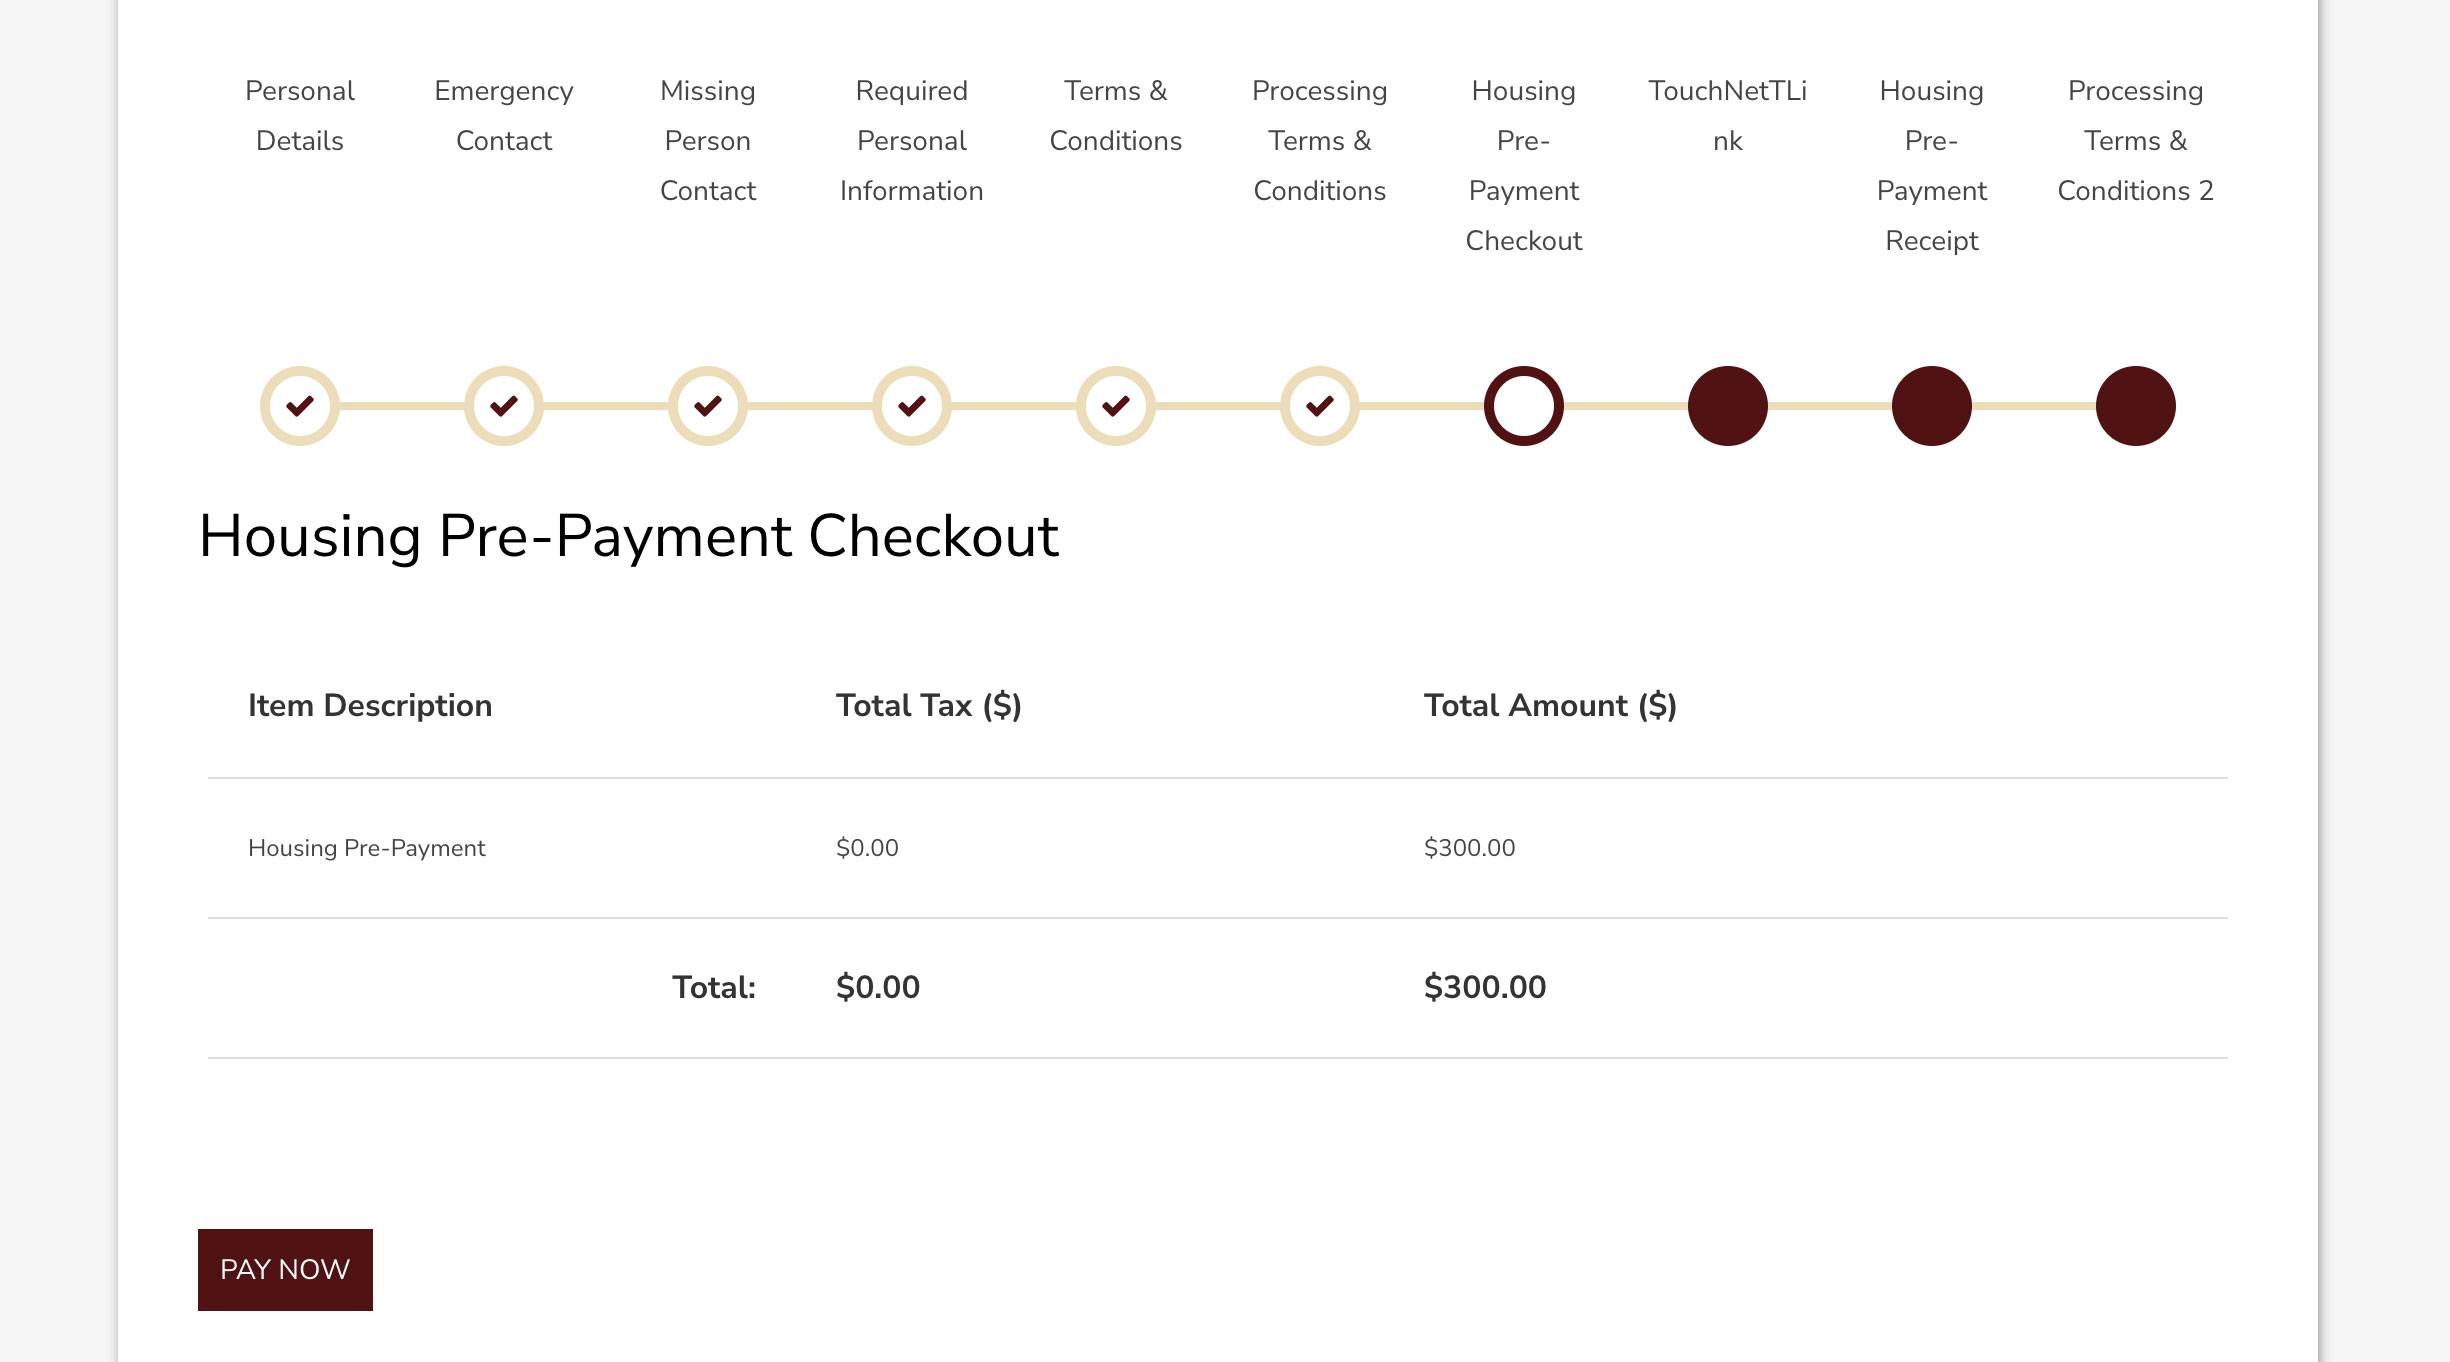
9. Housing Advance Rent Checkout & Receipt
On the following pages, you will be asked to make a housing advance rent payment. You will be emailed a receipt upon submission of your payment.
Unless your advance rent is deferred, your housing contract is not complete until we receive your housing advance rent.
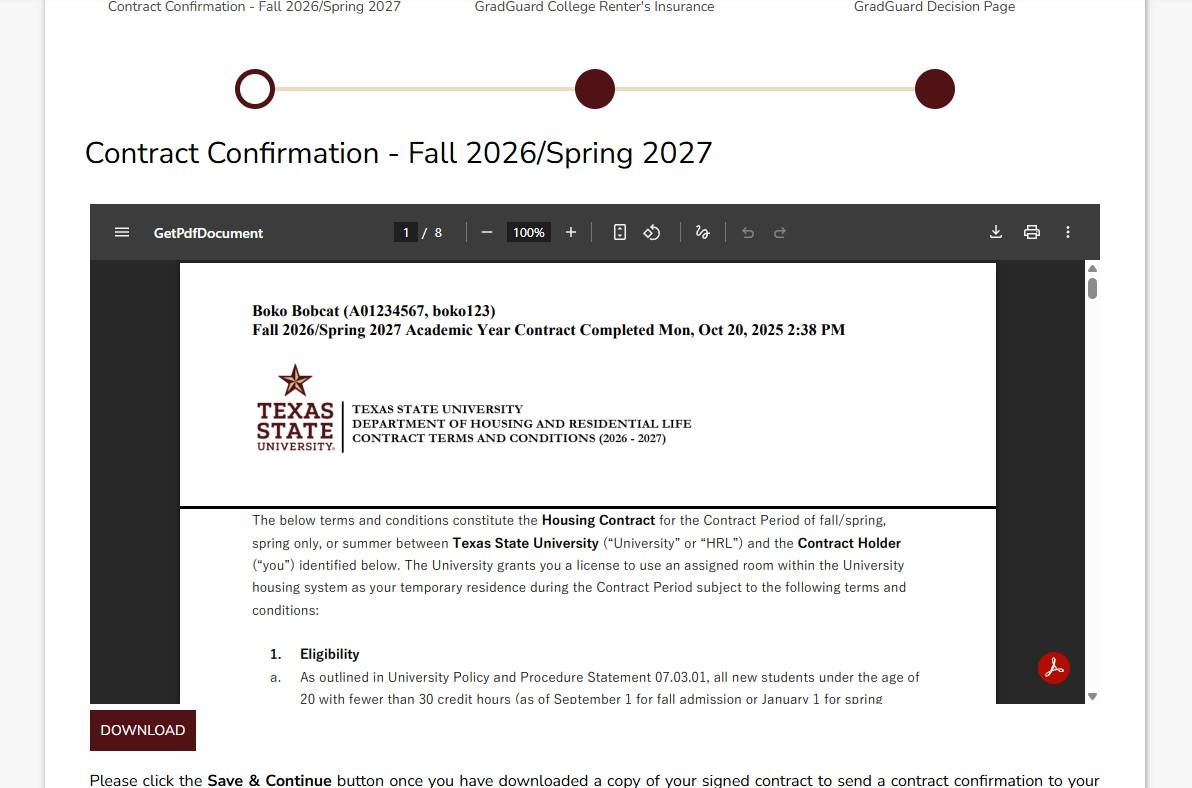
10. Contract Confirmation
Your housing contract is now complete. Please download a cop of your signed housing contract and verify that the email we have listed is the correct email address. This is the email we will be using to contact you with any further information.
As a reminder, you will need to purchase a Meal Plan from Texas State Dining if you live on campus. For more information on Meal Plan purchases, please visit Texas State Dining's website.
Roommate Selection
1. Personal Details
Fill out your contact information that you wish to share with your roommate or suitemate.
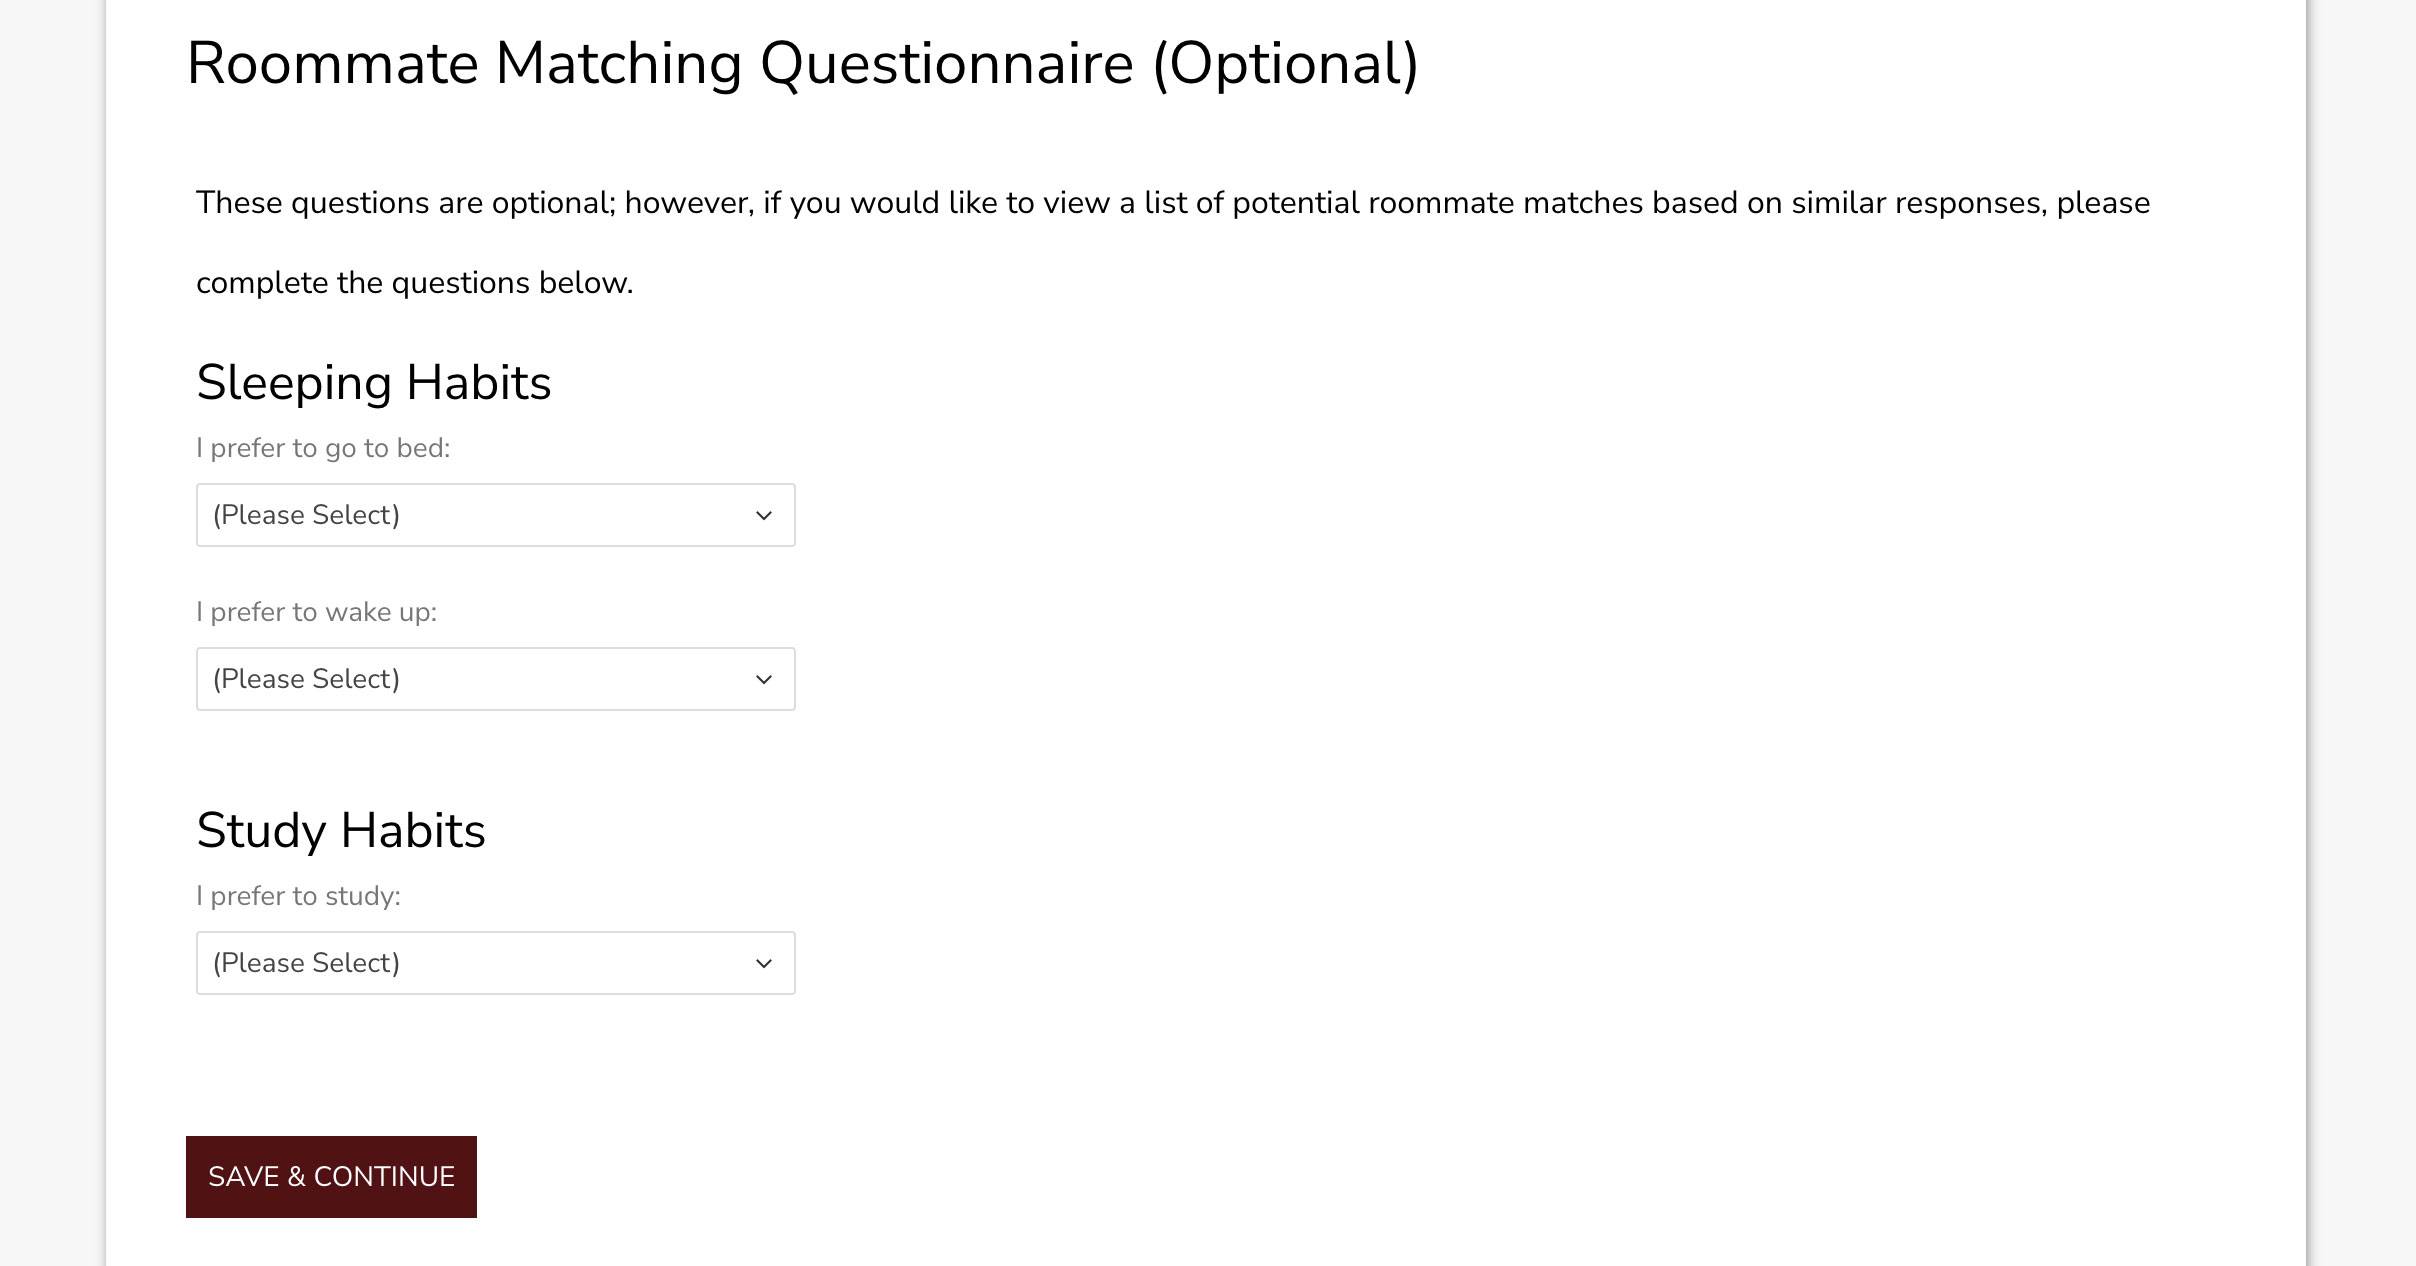
2. Roommate Matching Questionnaire
Answer the questions on this page to help match you with a compatible roommate. Then click the Save & Continue button.
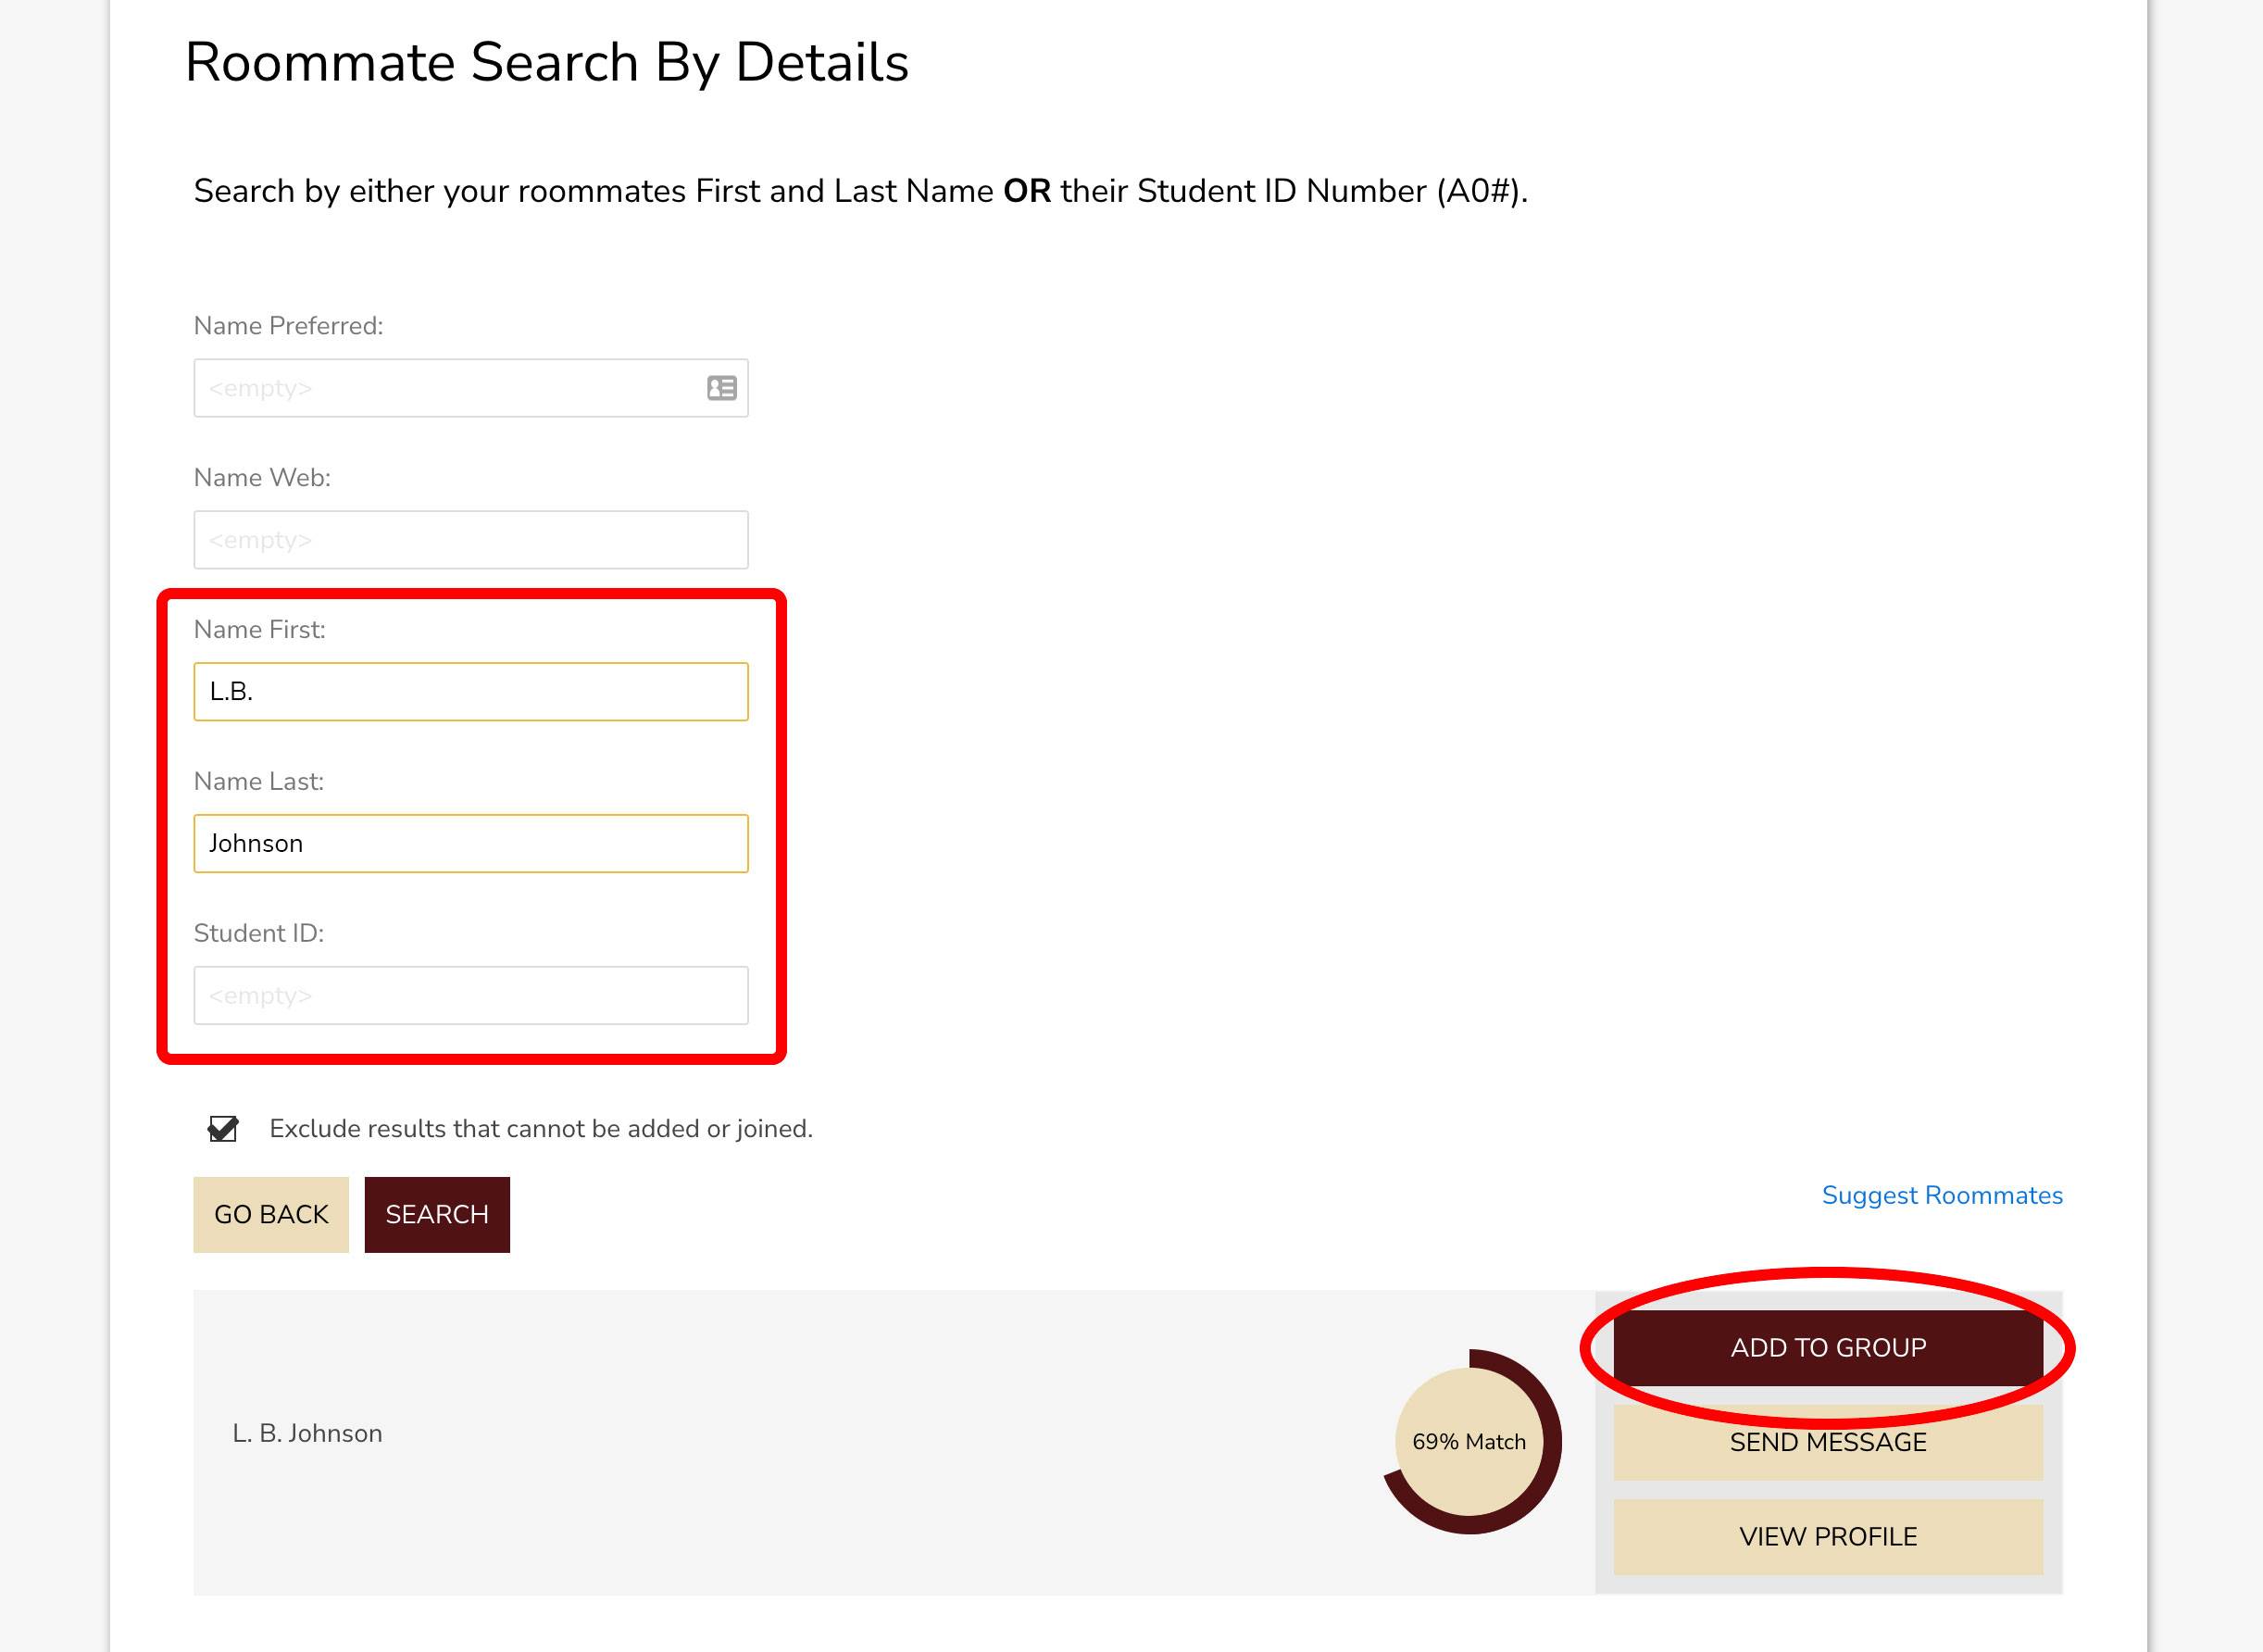
3. Search for Roommate by Details
If you know who you want to room with (and they have completed a housing contract), click the Search for Roommates by Details link. You will need to know your roommate's First and Last Name OR their Student ID Number (A0#).
The search results will appear below. Find your roommate and click the Add to Group button. If you are unsure if the person you are selecting is your roommate, you can click the Send Message button and send them a message within the Housing Portal to confirm. This helps in cases of common names.
If you do not know who you want to room with, but would like to choose from individuals who match with you based on the Roommate Matching Questionnaire then click the Suggest Roommates link.
PLEASE NOTE: The student who adds the additional roommate will be considered the “group leader”
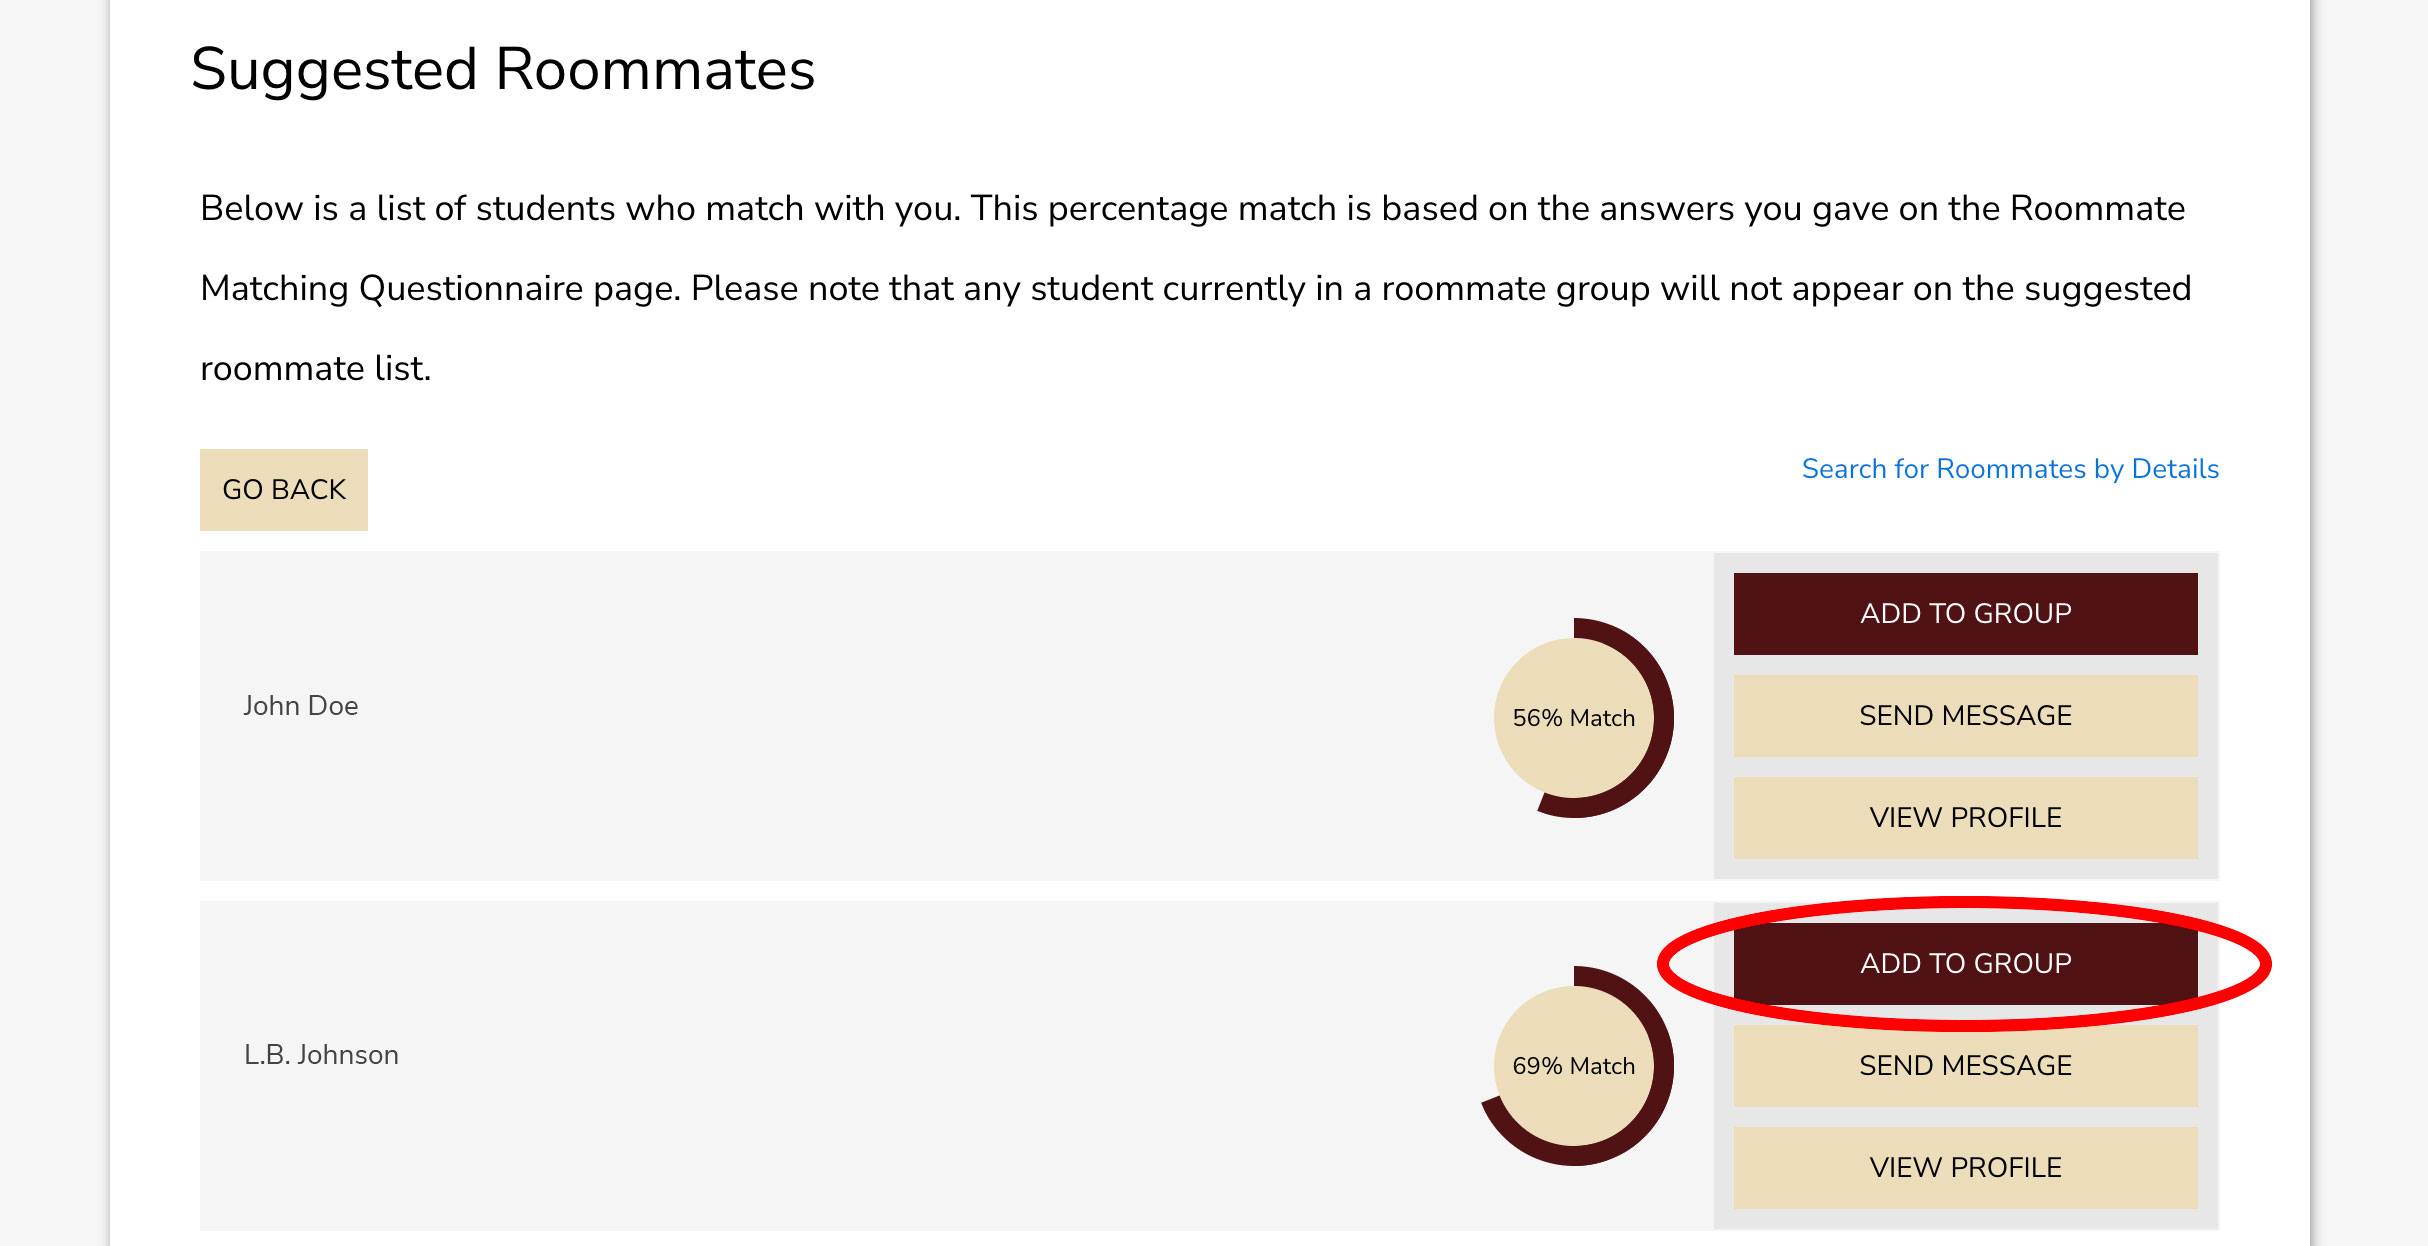
4. Suggest Roommates
If you don’t have a specific person in mind for your roommate then you can click on the Suggest Roommates link and it will show you a list of results of people who match with you. This percentage match is based on the answers you gave on the Roommate Matching Questionnaire page.
When you find someone who you would like to possibly room with then click the Add to Group button.
Your roommate will receive a message within the Housing Portal that they have been invited to join your group. They will need to go to the Roommate Group page to accept the invitation to the group before the Room Assignment Process.
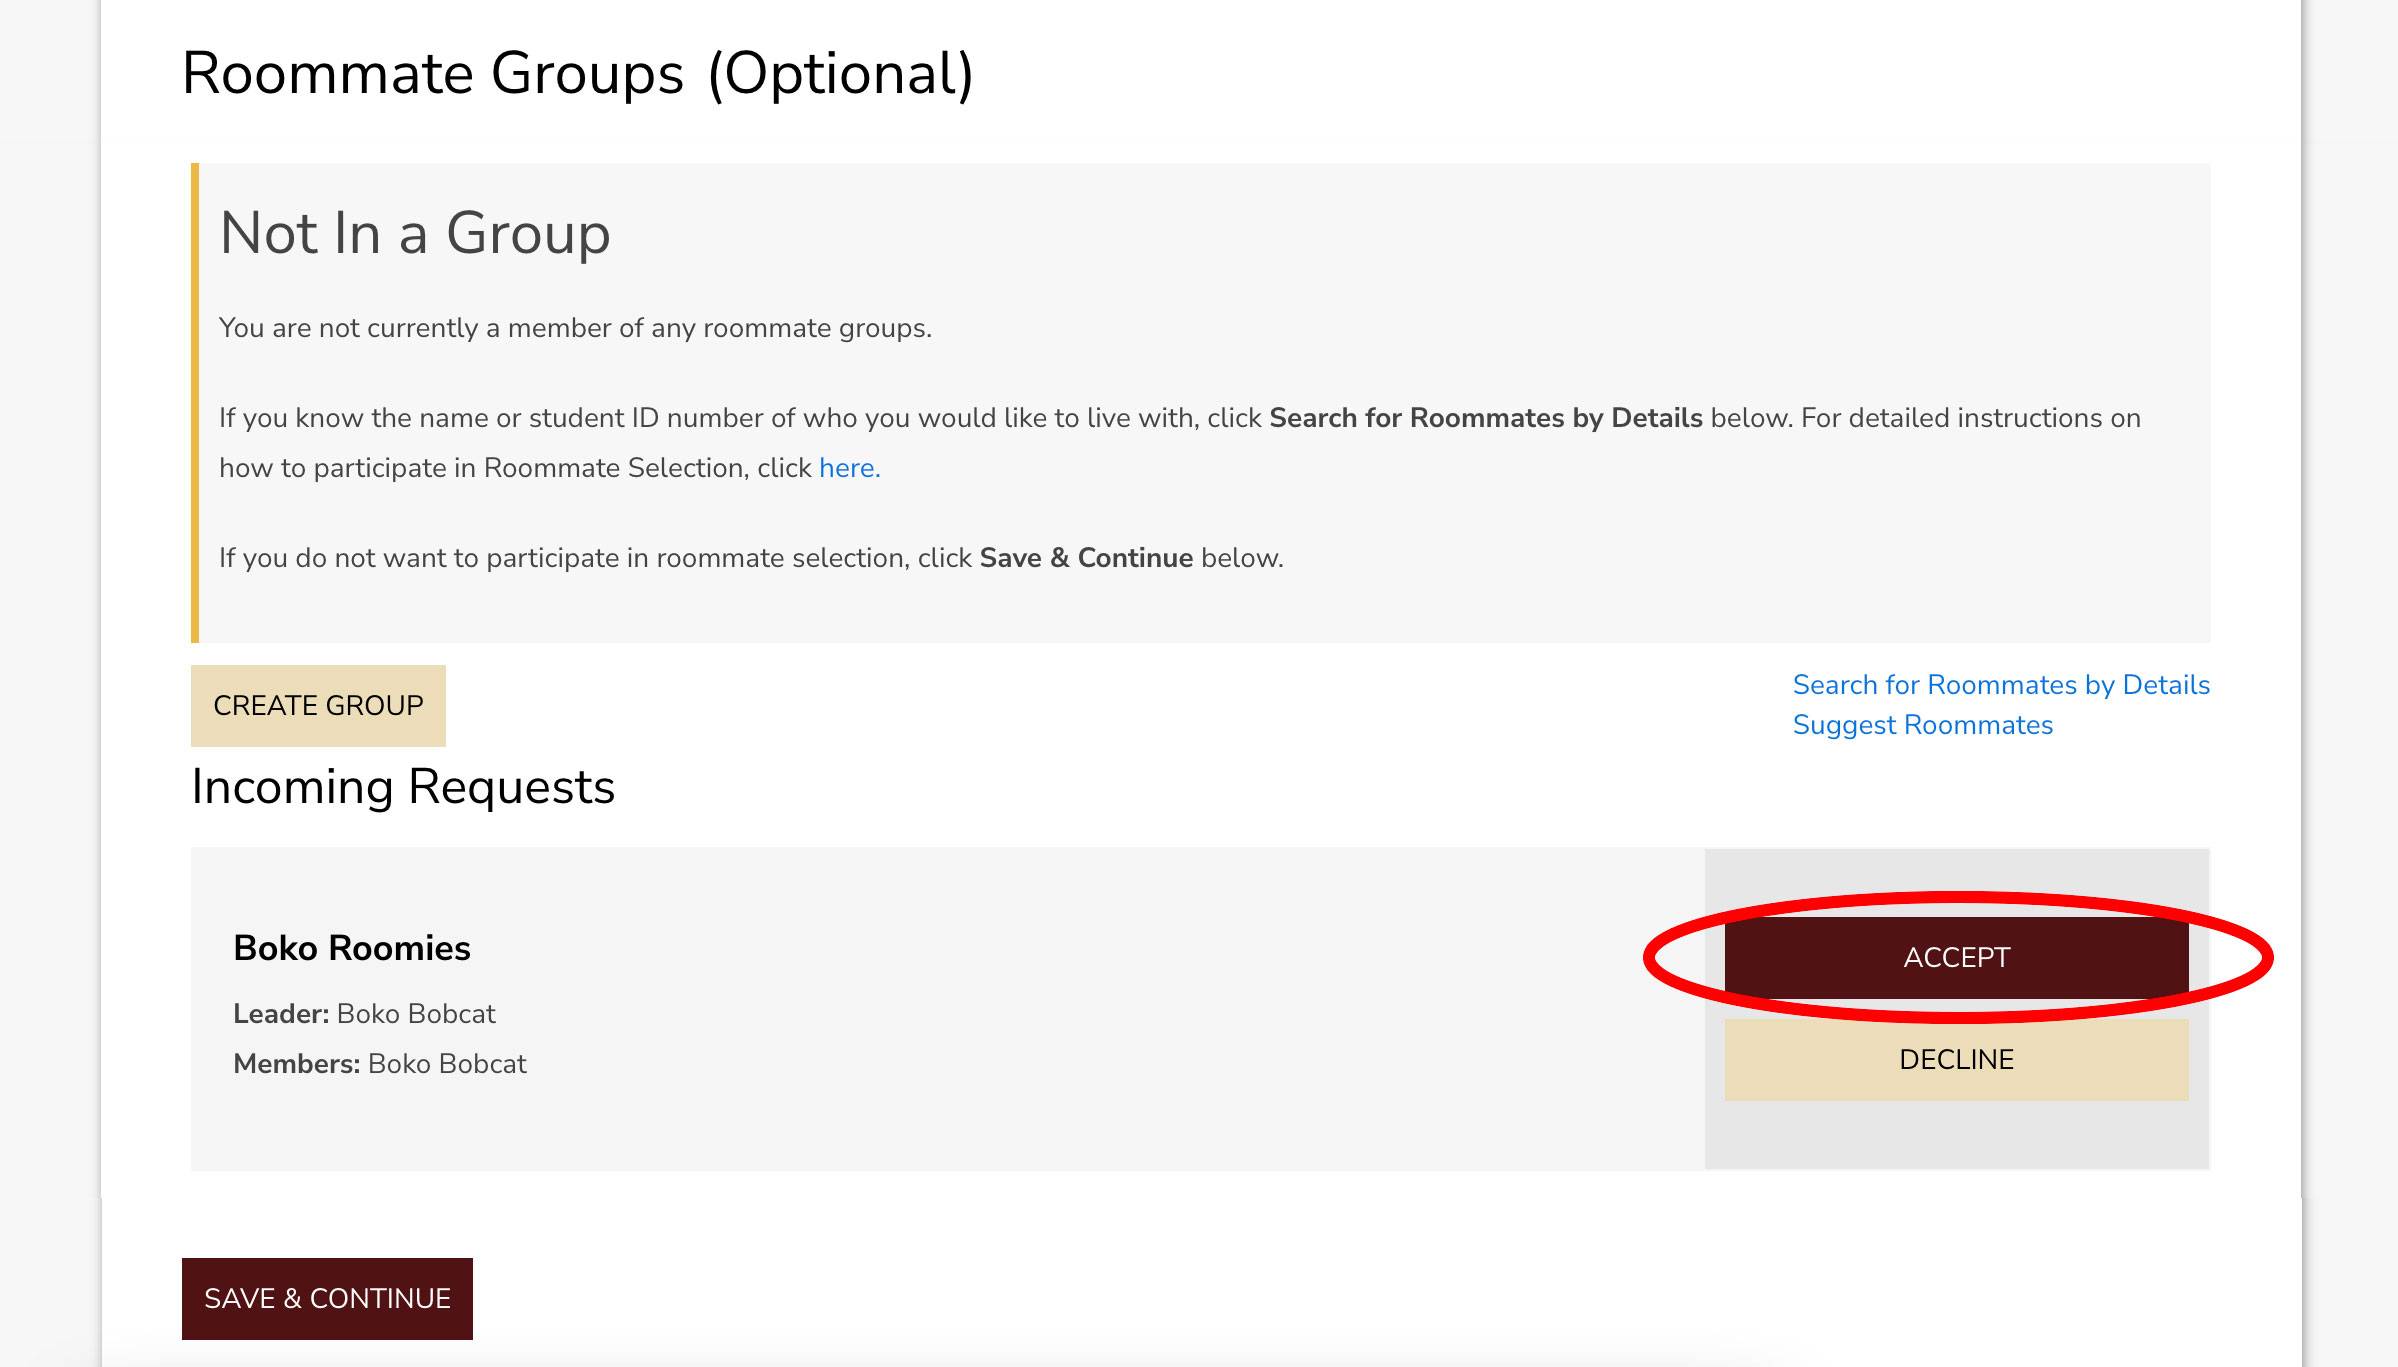
IMPORTANT: If they do not accept the invitation then they will not be assigned with you during the Room Assignment Process.
Once both you and your roommate are in your group, you will be assigned together during the Group Leader's Room Assignment Process.